
Call of Duty (2003) Download For PC – Complete Setup Guide

Experience the Historic Multi-Perspective Campaign
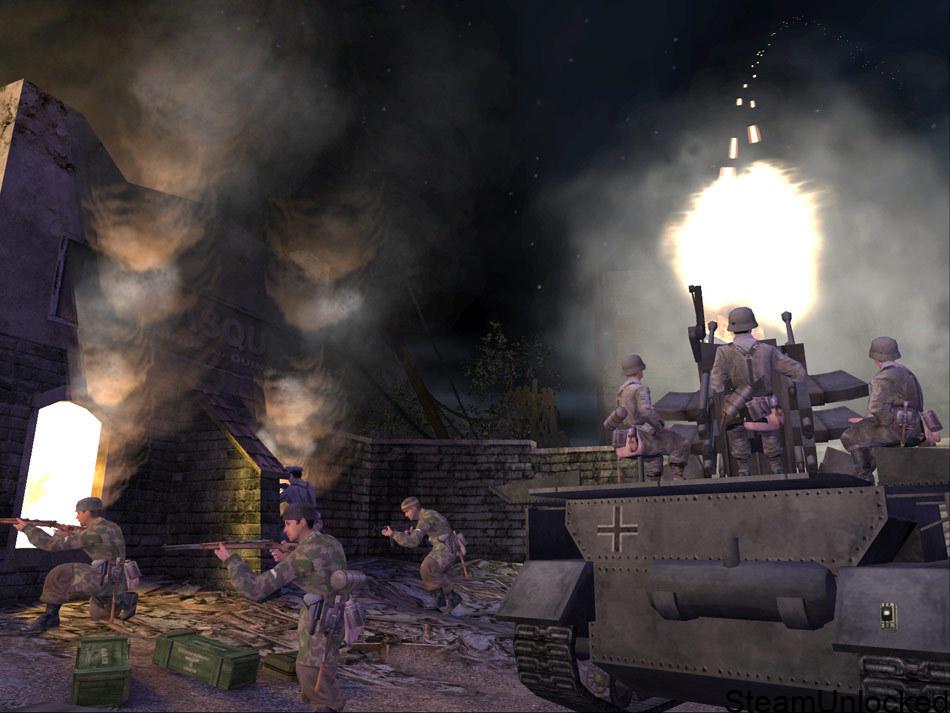
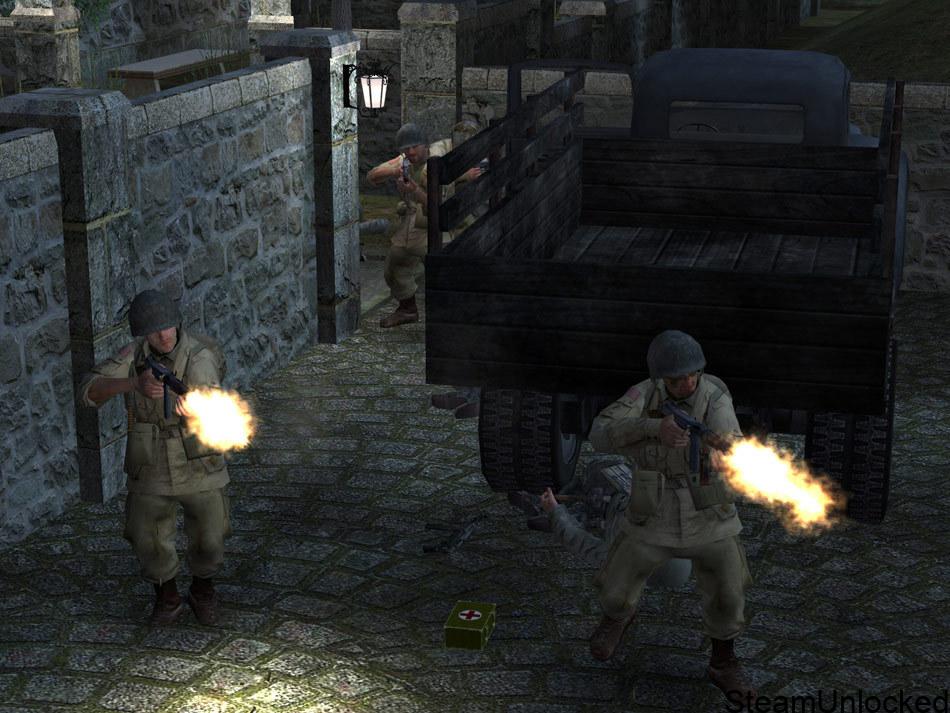
The groundbreaking single-player campaign splits your journey across three major Allied powers, delivering an expansive, narrative-driven look at the European theater. You begin as a private in the US 101st Airborne Division during the chaotic night drops of D-Day, transition into an elite British commando participating in high-stakes tactical raids, and finally take command as a Soviet soldier fighting through the devastating streets of Stalingrad before charging the Reichstag in Berlin.
Built on an heavily modified id Tech 3 engine, the game pioneered mechanics that are now standard in modern shooters, including a dedicated “aim down sights” system for pinpoint accuracy and realistic shell-shock effects during heavy artillery barrages. Since this classic software was written for legacy operating systems, running it smoothly today requires specific initialization adjustments to handle modern aspect ratios and high-refresh-rate desktop displays properly.
Call of Duty 1 PC System Requirements
While this classic title runs effortlessly on almost any modern processing chip, your system must support legacy graphics API translation layers to avoid compatibility errors at launch. Review the baseline technical requirements below:
| Hardware Component | Minimum Requirements | Recommended Configuration |
|---|---|---|
| Operating System | Windows XP / Vista / 7 / 10 (32 or 64-bit platform) | Windows 10 / Windows 11 (64-bit operating system running in standard compatibility modes) |
| Processor (CPU) | Intel Pentium III 800MHz / AMD Athlon 800MHz | Any modern Dual-Core Intel or AMD processor running at 2.0GHz or higher |
| Memory (RAM) | 128 MB RAM | 1 GB RAM or higher (More than sufficient to keep vintage data streaming buffers completely filled) |
| Graphics Card (GPU) | 32MB DirectX 9.0b compatible Video Card with Hardware T&L support | NVIDIA GeForce GT 710 / AMD Radeon R5 230 or any integrated Intel HD Graphics with legacy OpenGL support |
| DirectX & Storage | Version 9.0b | 1.4 GB available space | Version 9.0c or newer | 2 GB available space (SSD or HDD installation provides near-instant loading screens) |
Step-by-Step PC Installation & Client Configuration Guide
Because this classic piece of software was engineered before modern widescreen monitors became standard, use the following configuration steps to download and optimize your installation:
- Navigate to the Secure Storefront: Click the direct link in our verification section below to access the official digital application hosting platform.
- Acquire and Download: Add the license to your digital platform library, pick an installation drive, and finish downloading the package files completely.
- Apply Administrative Flags: Right-click the game shortcut executables within your directory, choose Properties, open the Compatibility tab, and check “Run this program as an administrator” along with “Windows 7 compatibility mode” to prevent unexpected startup crashes.
- Configure Widescreen Resolutions: If you find yourself restricted to a 4:3 box ratio, access the game console or edit the
config.cfgsystem file. Change the parameters forr_modeto-1, adjustr_customwidthandr_customheightto match your modern native screen lines (e.g., 1920 and 1080), then entervid_restartto update the layout. - Calibrate Input Settings: Boot up your game client, adjust your mouse sensitivity settings, map out your movement keybinds, and plunge into the epic, historical combat campaign.